What to Expect During a Professional Exterior Painting Project
What to expect during a professional exterior painting project is hard to guess. Most homeowners repaint every 5 to 10 years, so few have watched a crew work from start to finish. That gap breeds worry. Why does the house look worse before it looks better? Why does the crew sometimes seem to do nothing? How much do you have to manage?
A project that looks slow or messy is often right on schedule. Homeowners who don’t know the sequence tend to read normal steps as problems. This guide walks through the project in the order it happens, from the first walkthrough to the final inspection. It also explains the pacing and communication that keep everything moving.
What to Expect During a Professional Exterior Painting Project at a Glance
A professional exterior project moves through four phases in a fixed order. Most single-family homes need a few days to about a week and a half of on-site work. Add some time before the start date and a short wrap-up afterward.
Preparation often takes as long as the painting itself, and longer on older homes. Most of the schedule isn’t paint going onto siding. Here’s the full arc:
- Phase one: quote approval, color confirmation, and property setup
- Phase two: washing, scraping, repairs, caulking, and priming
- Phase three: masking, then two coats of paint
- Phase four: inspection, touch-ups, and cleanup
Your role stays small. You approve the quote and colors, clear the work area, and join the final walkthrough. Pace and communication tie the four phases together, and this guide covers both after the phases.
Phase One: Before the Crew Arrives
The project starts with an on-site walkthrough, where a professional inspects every surface and asks about your goals. The walkthrough typically takes under an hour. The inspector checks for rot, peeling paint, and failing caulk. A written quote follows within a few days.
Before you accept a quote, it helps to know the questions to ask contractors. A good quote lists the surfaces, the prep work, the coats, and the products.
After you accept the quote, the crew confirms your colors and your start date. A good company also explains what happens on day one, so nothing catches you off guard. Then get your property ready with a few simple steps:
- Move patio furniture, grills, and planters away from the walls
- Trim back shrubs that touch the siding
- Clear the driveway so crews can park and unload
- Plan for pets and children on work days
You don’t need to stay home all day. The crew needs access to the exterior, and you only need to be reachable. Careful setup prevents day-one delays, like a blocked work area or an unconfirmed color.
Phase Two: Surface Preparation
Surface preparation is the least visible phase, and it often takes as long as the painting itself. It also decides how long the paint lasts. The crew works through these steps:
- Washing the house to remove dirt, chalk, and mildew
- Scraping and sanding loose or peeling paint
- Repairing damaged wood and filling cracks
- Caulking gaps around trim and windows
- Priming bare areas so the topcoat can bond
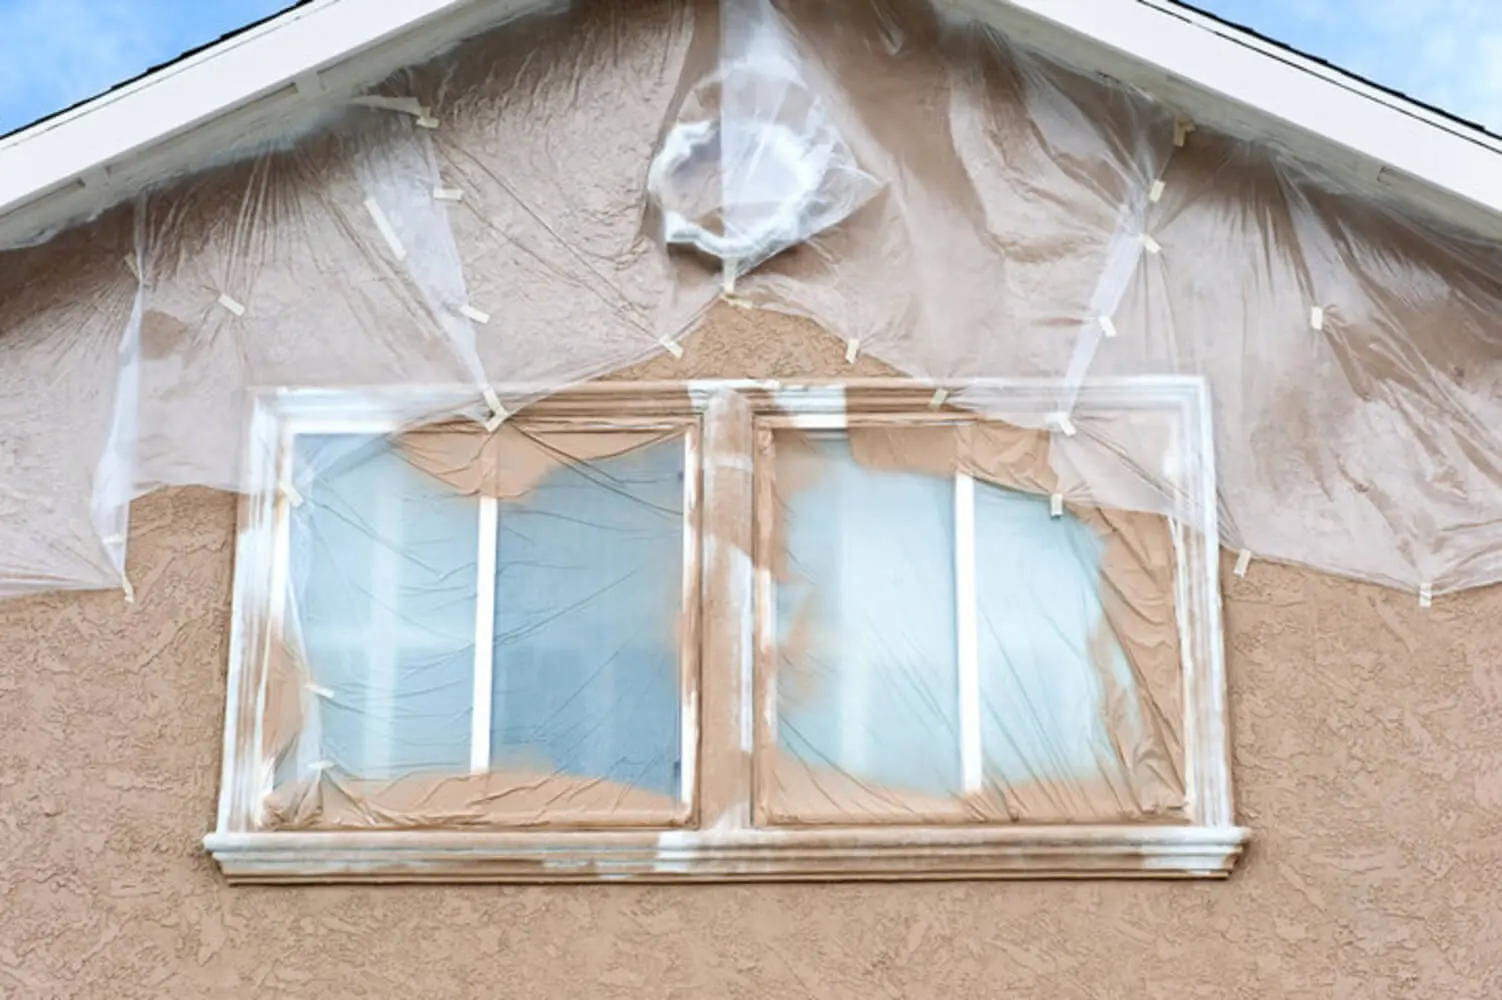
Your house often looks worse during this phase. Scraped patches, exposed wood, and primer spots are normal. They show the crew is fixing the surface before anything covers it.
Older homes in this area often need more repair work. Crews replace rotted trim and worn siding sections, then fill and sand each repair smooth so it blends in. Homes built before 1978 may also contain lead paint. Federal rules require certified contractors to follow lead-safe practices when they disturb it, so ask how a company handles this. Skipped or rushed prep looks identical to thorough prep on the day the job ends. The difference appears a season or two later, as peeling and failure.
Phase Three: Painting the Exterior
Painting is the phase most homeowners picture, but it makes up only part of the on-site time. During professional exterior painting, the crew masks windows, covers shrubs and walkways, then applies the topcoat in a planned order.
Crews usually paint the main siding first. Trim, doors, and shutters come next. They also follow the shade around the house, because painting in direct sun on a hot surface hurts adhesion and leaves lap marks. Different tools handle different surfaces:
- Sprayers cover large areas of siding quickly
- Brushes and rollers handle trim, edges, and textured areas
- Back-rolling after spraying works paint into the surface for better adhesion and an even finish
Two coats are standard for full coverage and protection. Expect ladders, equipment, and some noise. Access to certain doors and windows is limited, and windows should stay closed on painting days.
Hold off on judging the color too early. A finished coat looks different from a wet one, because color and sheen settle as the paint dries.
Phase Four: Final Walkthrough, Cleanup, and Warranty
The project ends with a walkthrough where you and a company representative inspect the work together, ideally in daylight. Walk the whole property and check these areas:
- Trim and corner lines, where crooked edges show first
- Areas around windows and doors
- Shaded sides of the house, which can hide thin spots
- Low areas near the foundation, which are easy to miss
Point out any missed spots, thin areas, or crooked lines. The crew fixes them before closing out the job.
Cleanup follows. A professional crew removes these items:
- Masking, tape, and drop cloths
- Paint cans and scraps
- Debris around the foundation and driveway
Many crews also leave labeled leftover paint, so you can touch up later with the exact color. Ask for a written warranty before you sign, and find out what it covers. A good one covers application issues like peeling or blistering.
Paint feels dry within hours but takes weeks to cure fully. Avoid scrubbing, pressure washing, or leaning ladders against it for a while. Exterior paint typically lasts 5 to 10 years, and what affects paint lifespan comes down to prep, product, and exposure.
What Keeps a Professional Exterior Painting Project on Track
Two things run through all four phases: the pace of the work and the communication around it. They shape your experience more than any single step. Judge a project by whether the sequence makes sense and whether you always know what comes next, not by how busy the crew looks.
Why the Pace Changes From Day to Day
A day with little visible painting is often a planned day. Drying and weather set the pace:
- Caulk, primer, and each coat need time to dry before the next step
- Rain, heavy humidity, and morning dew stop work
- Temperatures below roughly 50 degrees stop work, because exterior paint can’t cure properly in the cold
- Repairs found mid-project, like rot under old paint, add days even when the crew isn’t behind
Crews often wait for the dew to burn off before they start each day. Warwick’s usable painting season runs from late spring through early fall. The best painting windows are stretches of steady weather, so crews build weather days into the plan. A crew that pauses for weather protects your finish. A crew that paints through bad conditions risks peeling, blistering, and early failure.
How Communication Works From First Visit to Final Walkthrough
You should have one point of contact from the first visit through the final walkthrough. That way, questions never get lost between the office and the crew. Good communication looks like this:
- Short updates on what the crew finished and what comes next
- A clear process for surprises, where the crew stops, shows you what they found, explains your options, and agrees on any change in writing before continuing
- Quick answers to small decisions, like touch-up requests or a color question
Many homeowners expect to hear from the crew only when something goes wrong. A steady update rhythm tells you the project is moving as planned.
A Predictable Process Is What a Well-Run Exterior Project Looks Like
A professional exterior project follows a clear sequence, paced by drying and weather, with steady communication. When those three things line up, the project feels organized, even on slow days. Now you can tell a well-run project from a disorganized one. You also know that scraped siding and quiet days aren’t problems.
Planning in November gives you time. A winter walkthrough lets you compare quotes and confirm colors, and it secures a spring slot before schedules fill. For lead times and seasonal windows, read about scheduling exterior painting in Warwick.
At Willow Tree, we walk you through this process before your start date and assign a dedicated project manager once the job begins. If you’re comparing options for spring, request a free quote and we’ll answer your questions and schedule a convenient on-site visit.